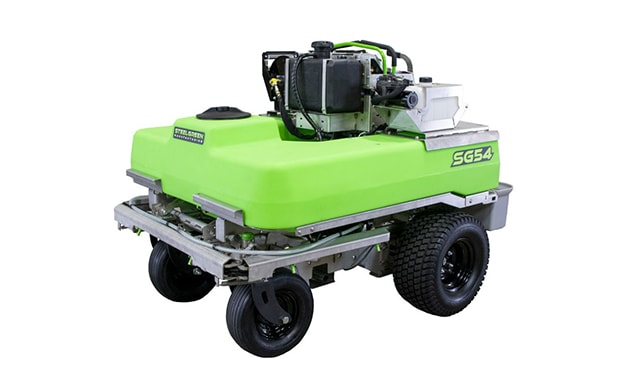
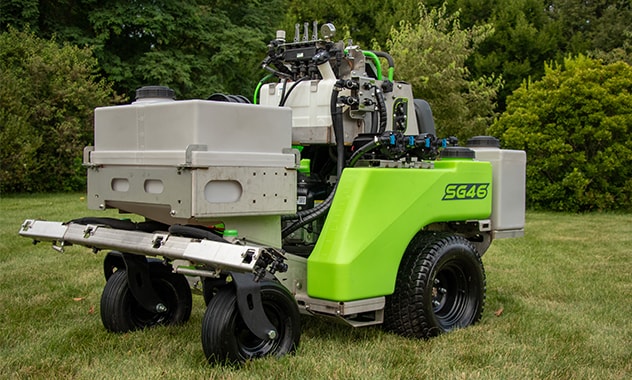
Steel Green Manufacturing’s Kodi Quinlisk discusses how to adjust the tracking on your Steel Green machine in the video below.
Transcript:
Hey guys! Kodi Quinlisk here with Steel Green Manufacturing. Today, I wanted to put together a quick little video showing you how to adjust the tracking on your steel Green Machine. Okay, so we do have some common parts when it comes to adjusting the steering; some things that we need to loosen up and get ready. So, on each side, you have a drive rod. That’s this linkage right here. And then you got one over here as well. There’s a jam nut down here at the bottom on both of those. This is a standard nut. So lefty loosey, righty tighty. The one up here at the top, a brass-colored nut, that was actually reverse threads, same as the one over here. Those do take a half-inch wrench, and then you also need a seven-sixteenths wrench for the other side of it.
You do want to hold with your seven-sixteenths, you do want to hold that joint right there when you tighten these and loosen these, just so it doesn’t put extra strain on the ball joint. So for this machine, to show you guys, I do have both of these unlocked, or the jam nut is loosened, so I can twist these rods. I’ve also kind of loosened the top joint there. But for each side, there’s only two adjustments to the tracking. This green bar right here is kind of slotted, so you can loosen the jam nut, which is going to be a half-inch also. And then this here is a seven-sixteenths. So, once you loosen that up, you’ll see that this green bar is slotted so this joint can slide forward and backward. So that’s where you’re actually going to make your steering adjustments. That’s where sliding that forward, or backward is going to change how fast each side drives.
Then by adjusting these rods right here, by twisting those, you can kind of see how I can move that right stick forward or backward. So, if you end up in a situation where the machine drives straight, but you can’t get your sticks to be even when you stop, you can adjust these right here and get them to where they’re needed again.
Okay, so to start this, I do want to go ahead, and kind of have just these top two nuts, just kind of snug, finger tight. Just so that the rods don’t shift on us as we’re doing this. I’m still going to leave the bottom loose that way, we can make easier adjustments if needed. But again, I want these just kind of finger-tight.
I want these just barely snug also to where I can still move on like that if I need to make any adjustments or anything. So now that I got it kind of set to where it’s going to be fairly easy to adjust. We will drive the machine and see how it goes.
One thing I am watching for when I get up to speed, I want to make sure that my bar here fully engages with my speed bar. If it stops short, then that tells me it’s putting extra strain on the hydro pump because it shouldn’t. It should go all the way to the bottom. So that’s one thing we’re going to check.
I’m gonna about half throttle, and I’m going to squeeze these completely all the way and see if it drives straight. So, immediately it turns to the left really hard. So, I’m going to shut the machine down. So, since it’s pulling hard to the left, I need to speed up the left side. So, if you can see up here, this little guy here, I’m going to move it back. And what that’s going to do is it’s going to allow the left side to pull further, down here, it’s going to pull that up more. Therefore, it’s going to speed up the left side. So, now that I got that adjusted, I’m going to go ahead and tighten it down or snug it up a little bit more so it won’t move on me. Let’s try this again.
So, I’m going a little bit to the right. My speed bar is not pulling. So what it appears is that I sped the left side up just a little too much. So, we can try to kind of wiggle that. There we go. I got it moved back a little bit. We’ll turn around and try again. We still have a slight pull to the left. We’re going to speed that left up again. There we go. That right there is actually tracking pretty good.
When I stopped the machine, I noticed that my sticks, this one’s back a little bit further than that one. This one is also the one that wasn’t fully engaging with the speed bar. So, I’m going to come down here and then loosen that and then twist that until it’s even. And now I’m pretty comfortable that I’m really close. So I’m gonna go ahead and snug these up again. Alright, so I got all of those snugged up.
Alright, so there it is. It’s just a quick little video showing you guys how to adjust this stuff in that your adjustment slot up here and the one right here. That’s pretty much all there is, and then these routes here just adjust where your sticks are. So, a good rule of thumb is on a 46 and 52, those units, you want your max speed to be around 9 miles an hour. The smaller machines are going to run closer to 10, like the SG36 and SG42. So there it is. If you have any questions, reach out. Thanks!
 written by


